Create a New ZK Maven Project
In this section, we will demonstrate how to create a ZK maven project with the Maven plugin.
Install Maven Plugin First
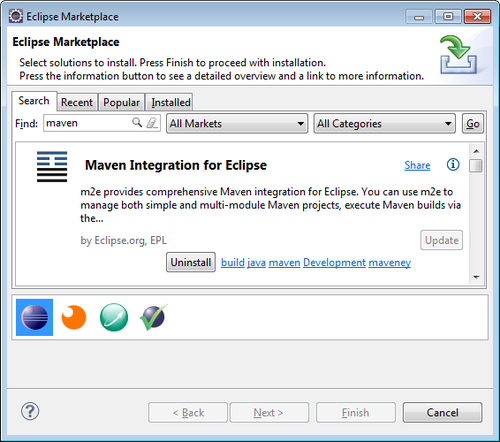
Unless your Eclipse version/edition already includes it, you have to install the plugin first. Click [Help]/[Eclipse Marketplace...] and enter "maven" in "Find" textbox to find Maven Integration for Eclipse. Then click "Install" button.
After completing the installation and restarting Eclipse, we can continue the following steps.
Create ZK Maven Project
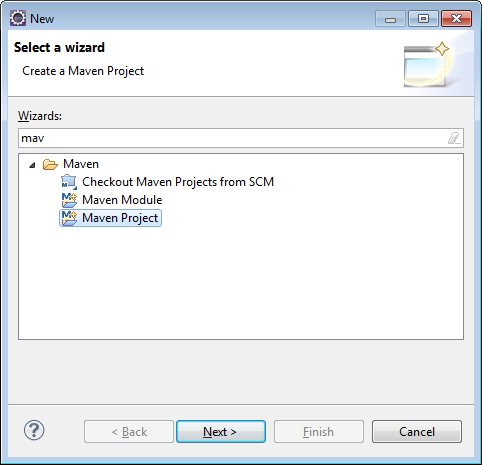
1. Select [File]/[New]/[Project] to open a New Project dialog. Then choose Maven Project under Maven item and click "Next >".
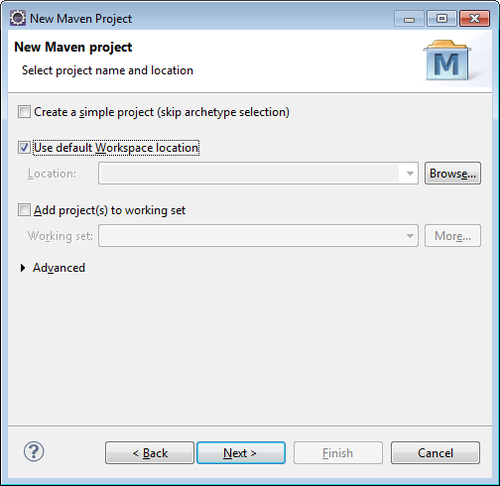
2. Select location. We usually use default workspace location.
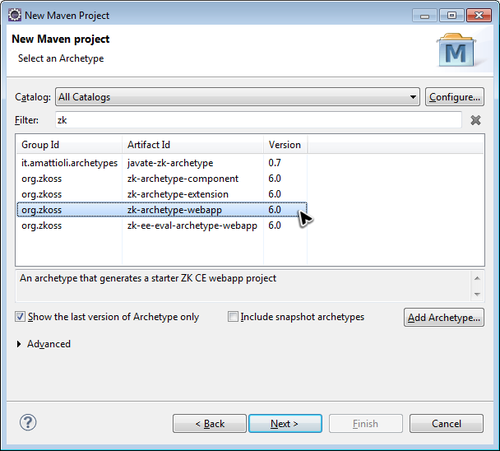
3. Enter "zk" in filter to search ZK maven archetypes and select what you want. Click Next.
- Notice: If you cannot find ZK maven archetypes, please refer to Add ZK Maven Archeype.
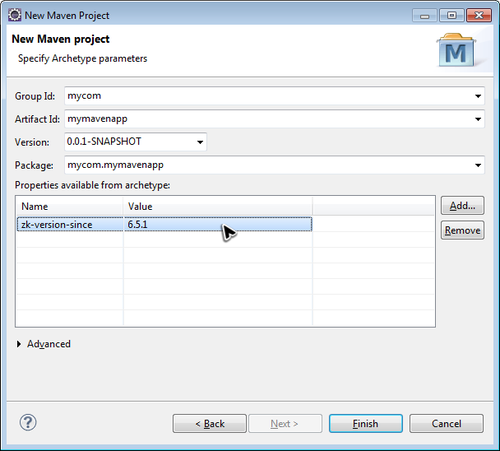
4. Enter preferred ZK version in zk-version-since and click Finish.
5. The new ZK maven project is created with ZK dependencies added.
Run ZK Maven Project
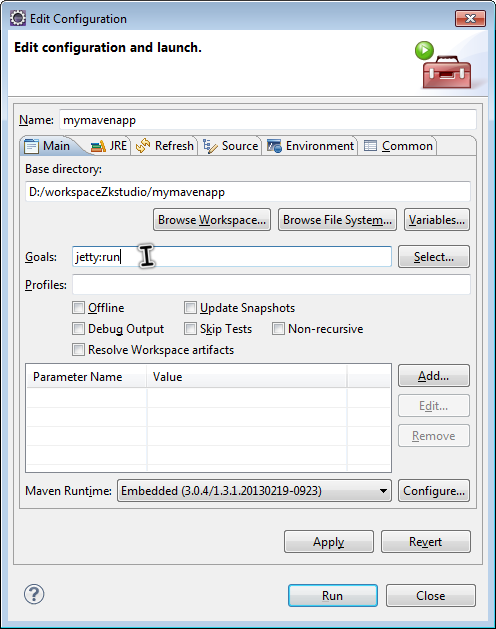
1. Right click on your project icon and select [Run as]/[Maven build...] to open run configuration dialog.
2. Enter jetty:run in Goals textbox and click Run.
- Running jetty the firs time may take a while because Maven plugins needs to download some necessary resources, please be patient.
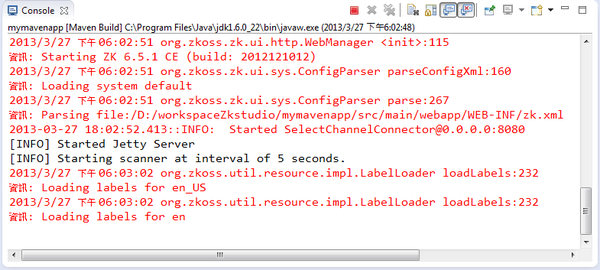
3. You can see the server starting messages showing up in Console view.
Then visit http://localhost:8080/yourprojectname to see the result.
